
Choosing the right test target can make or break your imaging system’s performance. I’ve seen engineers spend months troubleshooting systems, only to discover their standard test target wasn’t revealing the real issues. The solution? Custom test targets designed specifically for their application.
Let me show you exactly when and how to use custom test targets to get the most accurate results from your imaging system.
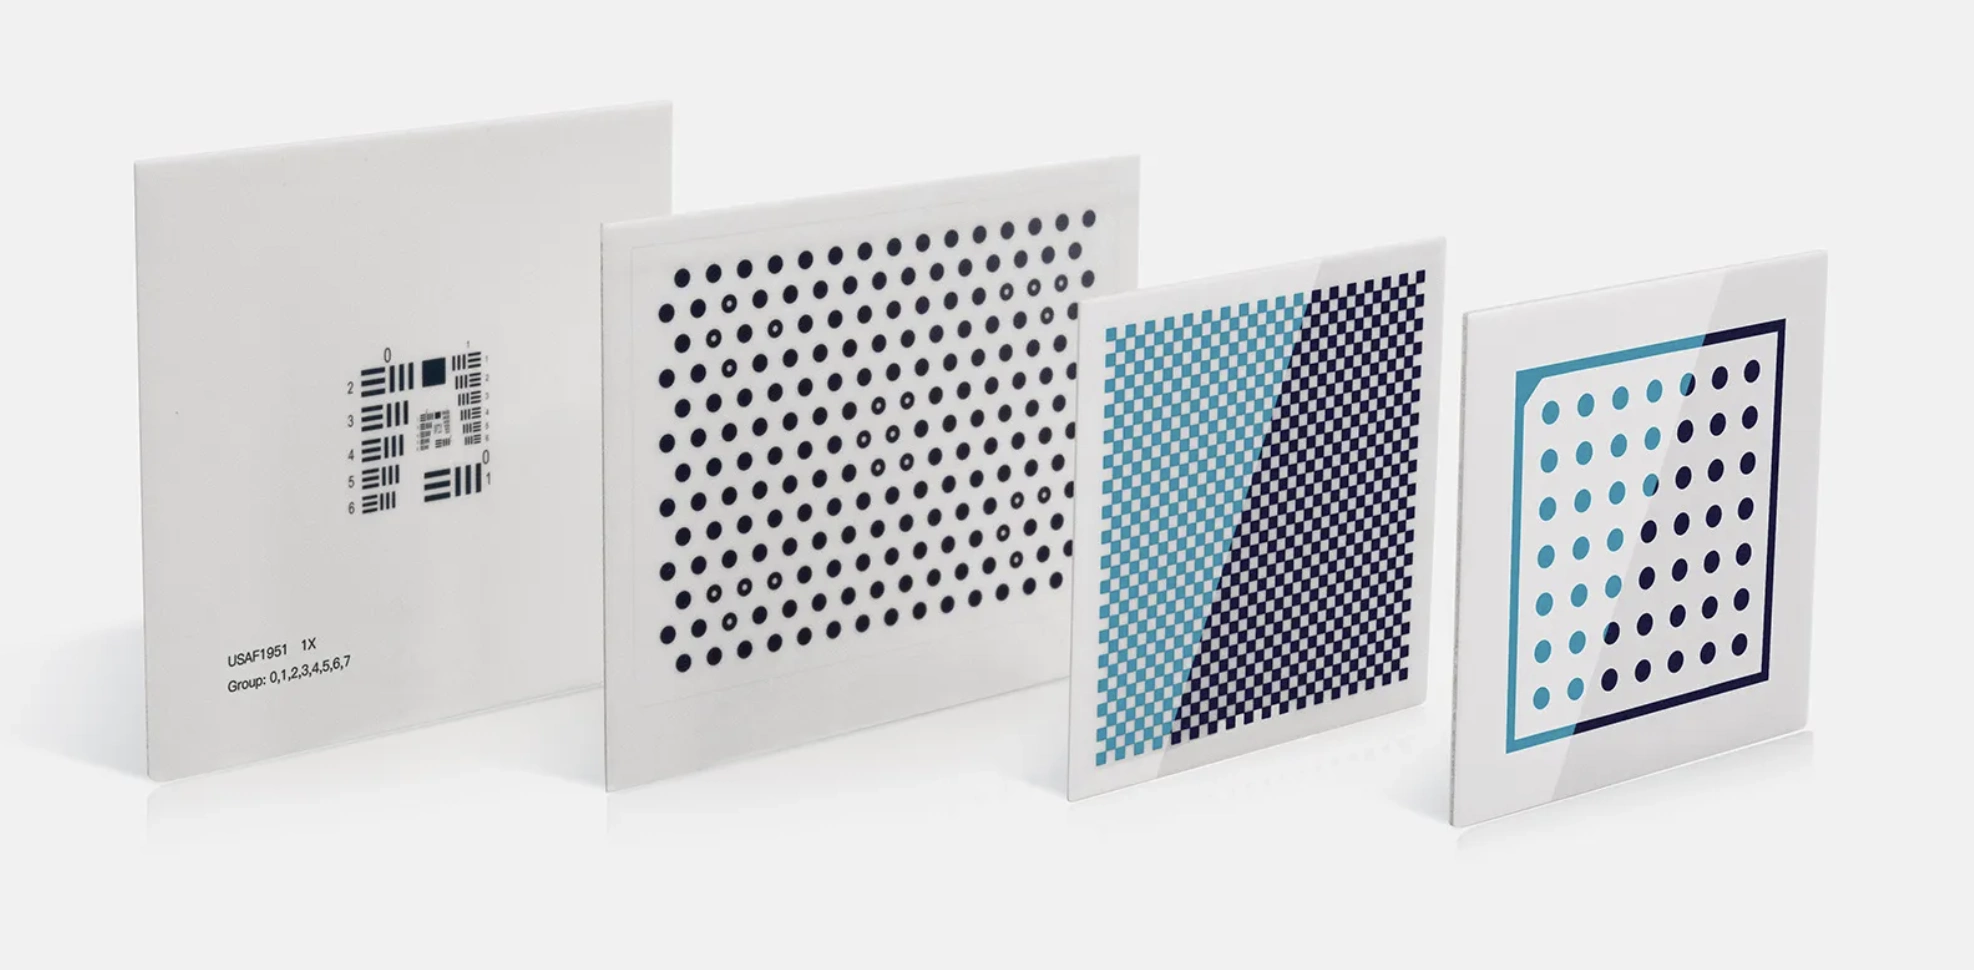
A custom test target is a specialized chart or pattern designed for a specific imaging system or application to evaluate its performance or calibrate its settings. These targets can be tailored to measure various aspects like resolution, distortion, color accuracy, or identify specific features in an image. Custom targets are created to address the unique needs of a specific imaging system or testing scenario.
But here’s what most people don’t realize: using the wrong test target is like trying to tune a piano with a guitar tuner. You’ll get some results, but they won’t tell you what you actually need to know about your system’s performance.
Understanding Custom Test Targets
The difference between standard and custom test targets is like the difference between off-the-shelf software and a custom application built for your specific workflow.
Standard test targets work great for general applications. The USAF 1951 resolution target, for example, has been helping engineers evaluate optical systems for decades. But what happens when you’re testing a system that inspects semiconductor wafers? Or calibrating cameras for medical imaging? That’s where custom targets become essential.
Custom test targets solve three critical problems:
Problem 1: Measurement specificity. Your imaging system might need to detect 50-micron defects on a reflective surface. A standard target won’t have features that match your real-world requirements.
Problem 2: Environmental matching. If your system operates under specific lighting conditions or with particular materials, your test target should match those conditions.
Problem 3: Performance validation. You need to prove your system works reliably for your exact application, not just that it meets general optical specifications.
I worked with a food packaging company that was using standard resolution targets to test their label inspection system. The system passed all tests but kept missing actual defects in production. We designed a custom target that replicated the exact label materials, printing processes, and defect types they encountered. Suddenly, they could optimize their system for real-world performance instead of theoretical specifications.
The Custom Advantage
Custom targets give you three key advantages that standard targets simply can’t match:
Precision matching: Your target features exactly match what your system needs to detect or measure in the real world.
Environmental accuracy: Target materials, lighting conditions, and contrast levels replicate your actual operating environment.
Performance validation: You can prove your system works for your specific application, not just meet general industry standards.
Types of Custom Test Targets
Let me walk you through the main categories of custom targets and when you’d use each one.
Resolution Targets: Beyond Standard Patterns
Resolution targets measure your imaging system’s ability to distinguish fine details. While standard targets like USAF 1951 work for general applications, custom resolution targets address specific measurement needs.
When you need custom resolution targets:
- Your application requires specific feature sizes not covered by standard targets
- You need to test resolution at particular contrast levels
- Your system operates with non-standard lighting or materials
- You’re working with specialized optical systems like telecentric lenses
Real example: A semiconductor inspection system needed to resolve 2-micron features on silicon wafers. Standard targets couldn’t replicate the reflective properties and contrast levels of actual silicon. We created custom targets on silicon substrates with precisely controlled feature sizes and contrast ratios.
Color Targets: Precision Color Management
Color targets calibrate color accuracy and consistency in imaging systems. Standard color targets use generic color patches, but custom targets use colors specific to your application.
Applications for custom color targets:
- Food inspection systems checking for specific color variations
- Textile manufacturing ensuring consistent dye colors
- Medical imaging requiring precise tissue color reproduction
- Print quality control matching specific brand colors
The key is matching not just the colors, but also the substrate materials and lighting conditions your system actually encounters.
Distortion Grids: Measuring Optical Accuracy
Distortion grids measure the degree to which an imaging system distorts straight lines or shapes. Custom grids account for your specific field of view, working distance, and accuracy requirements.
Why customize distortion grids:
- Your field of view doesn’t match standard grid sizes
- You need specific measurement accuracy across your entire image
- Your application has unusual aspect ratios or geometries
- You’re testing systems with extreme wide-angle or telephoto characteristics
Grayscales: Optimizing Tonal Response
Grayscales evaluate how well your imaging system handles different brightness levels. Custom grayscales match the actual contrast ranges and tonal distributions your system encounters.
Custom grayscale applications:
- X-ray imaging with specific contrast requirements
- Surveillance systems operating in low-light conditions
- Industrial inspection with challenging lighting environments
- Scientific imaging requiring precise photometric accuracy
Key Design Considerations for Custom Test Targets
Creating effective custom test targets requires careful attention to several critical factors.
Target Material Selection
The substrate material dramatically affects target performance and longevity.
Chrome on glass: Best for high-precision applications requiring sharp edges and long-term stability. Excellent for transmission applications with backlighting.
Chrome on ceramic: Ideal for reflective applications and harsh environments. Better vibration resistance than glass.
Photo paper: Cost-effective for temporary applications or when you need specific colors and textures.
Film substrates: Perfect for large-format applications or when you need flexible mounting options.
I learned this lesson the hard way early in my career. We created beautiful custom targets on photo paper for a client’s quality control system. Six months later, the targets had faded under their industrial lighting, and all their calibrations were wrong. Now I always match the substrate to the operating environment.
Resolution and Feature Sizing
Your target resolution must be appropriate for the imaging system being tested.
Here’s the calculation I use: Your smallest target feature should be about 3-4 times smaller than your camera’s pixel size for reliable detection. For a camera with 5-micron pixels, your smallest features should be around 15-20 microns.
But resolution isn’t just about feature size – it’s also about:
- Edge sharpness and contrast
- Feature spacing and arrangement
- Overall target size and layout
- Background uniformity
Pattern and Feature Design
The target’s pattern should be chosen to measure the specific aspects of your imaging system.
For resolution testing: Use line pairs, dot patterns, or geometric shapes that match your application’s critical features.
For distortion measurement: Design grid patterns that cover your entire field of view with known geometric relationships.
For color accuracy: Include color patches that represent the full range of colors your system encounters.
For contrast sensitivity: Incorporate low-contrast features that match your most challenging detection requirements.
Edge Sharpness: The Critical Factor
Sharp edges are crucial for accurate resolution measurement. This is where manufacturing quality becomes essential.
Poor edge quality creates measurement errors that can make your system appear better or worse than it actually is. High-quality targets use photolithographic processes that create edges with sub-micron precision.
Edge quality indicators:
- Manufacturing process (photolithography is best)
- Substrate material (chrome on glass offers sharpest edges)
- Feature contrast (higher contrast reveals edge quality issues)
- Magnification capability (targets should look sharp even under high magnification)
Applications of Custom Test Targets
Let me show you how custom targets solve real-world problems across different industries.
Optical Systems: Beyond Basic Testing
Custom targets for optical systems go far beyond standard resolution and distortion measurements.
Lens testing applications:
- Chromatic aberration measurement using specific wavelengths
- Field curvature analysis across the entire image plane
- Vignetting assessment with realistic illumination conditions
- MTF (Modulation Transfer Function) testing at application-specific spatial frequencies
Real-world example: A microscope manufacturer needed to test their new high-NA objective lenses. Standard targets couldn’t provide the resolution, contrast, and substrate materials needed for accurate testing. We created custom targets with sub-micron features on specialized glass substrates that matched their intended biological specimens.
Image Quality Testing: Ensuring System Performance
Image quality testing with custom targets ensures your system performs reliably in actual operating conditions.
Quality control applications:
- PCB inspection systems testing actual circuit board materials and features
- Food inspection ensuring detection of real contaminants and defects
- Pharmaceutical packaging verification using actual label materials and printing
- Automotive part inspection with realistic surface finishes and geometries
The key is replicating not just the features you need to detect, but also the materials, lighting, and environmental conditions your system faces in production.
System Calibration: Achieving Optimal Performance
Custom calibration targets help you optimize system performance for your specific application.
Calibration scenarios:
- Multi-camera systems requiring precise geometric alignment
- Color-critical applications needing accurate color reproduction
- Measurement systems requiring traceable dimensional accuracy
- High-speed imaging systems needing precise timing validation
Research and Development: Pushing the Boundaries
R&D applications often require targets that don’t exist commercially.
Research applications:
- New imaging technology evaluation and comparison
- Algorithm development and validation
- Scientific imaging with specific measurement requirements
- Advanced optical system characterization
I worked with a university research lab developing new fluorescence microscopy techniques. They needed targets that fluoresced at specific wavelengths with known intensities. No commercial target existed, so we created custom fluorescent targets using specialized phosphor materials.
How to Choose the Right Custom Test Target
Making the right choice requires a systematic approach that considers your specific requirements and constraints.
Step 1: Define Your Testing Objectives
Start by clearly defining what you need to measure or validate.
Ask yourself:
- What specific performance aspects matter most for your application?
- What features do you need to detect or measure in your real-world application?
- What accuracy or repeatability do you require?
- What environmental conditions will your system operate under?
Step 2: Analyze Your System Requirements
Understanding your imaging system’s capabilities and limitations is crucial.
Key system parameters:
- Camera resolution and pixel size
- Lens specifications and optical performance
- Lighting type and intensity
- Working distance and field of view
- Environmental factors (temperature, vibration, contamination)
Step 3: Consider Environmental Factors
Your target must survive and perform in your actual operating environment.
Environmental considerations:
- Temperature range (affects substrate materials and stability)
- Humidity and contamination exposure
- Lighting conditions (affects target contrast and visibility)
- Mechanical stress (vibration, handling, mounting)
- Chemical exposure (cleaning agents, process chemicals)
Step 4: Evaluate Accuracy Requirements
Determine the level of precision your application demands.
Accuracy factors:
- Feature size tolerances
- Positioning accuracy requirements
- Measurement repeatability needs
- Traceability to standards (if required)
For critical applications, consider whether you need certified targets with traceable measurements to national standards.
Custom vs Standard Test Targets: Making the Decision
The decision between custom and standard targets often comes down to balancing performance requirements against cost and time constraints.
When Standard Targets Work Fine
Standard targets are perfectly adequate for many applications:
- General optical system evaluation and comparison
- Basic resolution and distortion measurements
- Educational and training applications
- Budget-constrained projects where “good enough” performance is acceptable
- Applications where industry-standard test methods are required
When Custom Targets Become Essential
Invest in custom targets when:
- Your application has specific features or materials not represented in standard targets
- You need to validate system performance under your exact operating conditions
- Standard targets don’t provide the accuracy or precision your application requires
- You’re developing new technology or measurement methods
- Regulatory requirements demand application-specific validation
Cost-Benefit Analysis Framework
Consider these factors when evaluating the investment:
Custom target costs:
- Design and engineering time
- Specialized manufacturing processes
- Higher per-unit costs due to low volume
- Longer lead times for delivery
Benefits of custom targets:
- More accurate system characterization
- Better correlation with real-world performance
- Reduced troubleshooting and optimization time
- Improved confidence in system capabilities
- Potential competitive advantages from better system performance
Break-even calculation: If better system characterization saves you even one week of troubleshooting time, custom targets usually pay for themselves.
Design Process for Custom Test Targets
Creating effective custom targets follows a structured process that ensures you get exactly what you need.
Phase 1: Requirements Analysis
Start with a thorough analysis of your specific needs.
Requirements gathering:
- Document your system specifications and capabilities
- Identify critical features and measurement requirements
- Define environmental and operational constraints
- Establish accuracy and precision requirements
- Set budget and timeline constraints
Phase 2: Design Parameter Determination
Translate requirements into specific design parameters.
Design specifications:
- Target material and substrate selection
- Feature sizes, shapes, and arrangements
- Contrast levels and color specifications
- Overall target dimensions and layout
- Manufacturing tolerances and quality requirements
Phase 3: Prototype Development
Create and test prototypes before final production.
Prototype benefits:
- Validate design concepts with your actual system
- Identify and resolve potential issues early
- Optimize target parameters for best performance
- Confirm manufacturing feasibility and quality
Phase 4: Validation Testing
Thoroughly test prototypes to ensure they meet your requirements.
Validation procedures:
- Dimensional accuracy verification
- Optical performance testing
- Environmental durability assessment
- System performance correlation
- Documentation and certification (if required)
Common Mistakes to Avoid
I’ve seen these mistakes repeatedly over the years, and they’re all completely avoidable with proper planning.
Mistake 1: Resolution Mismatch
Using target features that don’t match your system’s resolution capabilities.
The most common error is creating features that are too small for your camera to resolve properly, or too large to provide meaningful resolution information.
Solution: Design target features to span the range from barely resolvable to clearly resolvable by your system.
Mistake 2: Material Selection Errors
Choosing target materials that don’t match your application environment.
I’ve seen targets degrade rapidly because the substrate material couldn’t handle the operating environment’s temperature, humidity, or chemical exposure.
Solution: Always match target materials to your actual operating conditions, with safety margins for unexpected conditions.
Mistake 3: Inadequate Pattern Design
Creating patterns that don’t effectively test what you actually need to measure.
This often happens when engineers focus on standard test patterns instead of patterns that match their real-world application requirements.
Solution: Design patterns specifically to test the features and characteristics that matter most for your application.
Mistake 4: Ignoring Environmental Factors
Failing to account for how operating conditions affect target performance.
Temperature changes, lighting variations, and contamination can all affect target performance in ways that aren’t obvious during initial testing.
Solution: Test your targets under the full range of expected operating conditions before finalizing the design.
Mistake 5: Insufficient Manufacturing Quality
Accepting poor manufacturing quality to save costs.
Poor manufacturing quality creates measurement errors that can invalidate your entire testing program.
Solution: Invest in high-quality manufacturing processes, especially for critical applications. The cost difference is usually small compared to the value of accurate results.
Future of Custom Test Targets
The field of custom test targets is evolving rapidly, driven by advances in manufacturing technology and new imaging applications.
Digital and Programmable Targets
Electronic displays are increasingly used as programmable test targets.
Advantages of digital targets:
- Instantly changeable patterns and features
- Precise control over brightness and contrast
- Ability to create dynamic test sequences
- Cost-effective for development and prototyping
Limitations:
- Limited resolution compared to physical targets
- Pixel structure can interfere with measurements
- Color accuracy and stability challenges
- Not suitable for all lighting conditions
Advanced Manufacturing Techniques
New manufacturing methods enable previously impossible target designs.
Emerging technologies:
- Electron beam lithography for sub-micron features
- Multi-layer targets with complex optical properties
- Nanostructured surfaces for specialized applications
- 3D targets for volumetric imaging systems
AI-Integrated Testing
Artificial intelligence is changing how we design and use test targets.
AI applications:
- Automated target design optimization
- Intelligent test sequence generation
- Real-time performance analysis and feedback
- Predictive system performance modeling
Standardization Developments
Industry efforts are working toward better standards for custom targets.
Standardization trends:
- Common design principles and best practices
- Standardized measurement and reporting methods
- Traceability requirements for critical applications
- International cooperation on test methods
Conclusion
Custom test targets aren’t just nice-to-have accessories – they’re essential tools for anyone serious about optimizing imaging system performance. The key is understanding when the investment in custom targets pays off through better system characterization, reduced troubleshooting time, and improved confidence in your results.
My recommendations:
- Start with standard targets for basic evaluation, but don’t hesitate to invest in custom targets when your application demands it
- Work with experienced target manufacturers who understand both the technical requirements and manufacturing challenges
- Always validate custom targets with your actual system before committing to large quantities
- Consider your operating environment carefully – it’s better to over-engineer environmental resistance than deal with premature target failure
The bottom line: Your imaging system is only as good as your ability to test and validate its performance. Custom test targets give you the tools to push your system to its full potential and prove it works reliably for your specific application.
Need help designing custom test targets for your application? Work with experienced manufacturers who understand both the technical requirements and the practical challenges of creating targets that deliver accurate, repeatable results in real-world conditions.