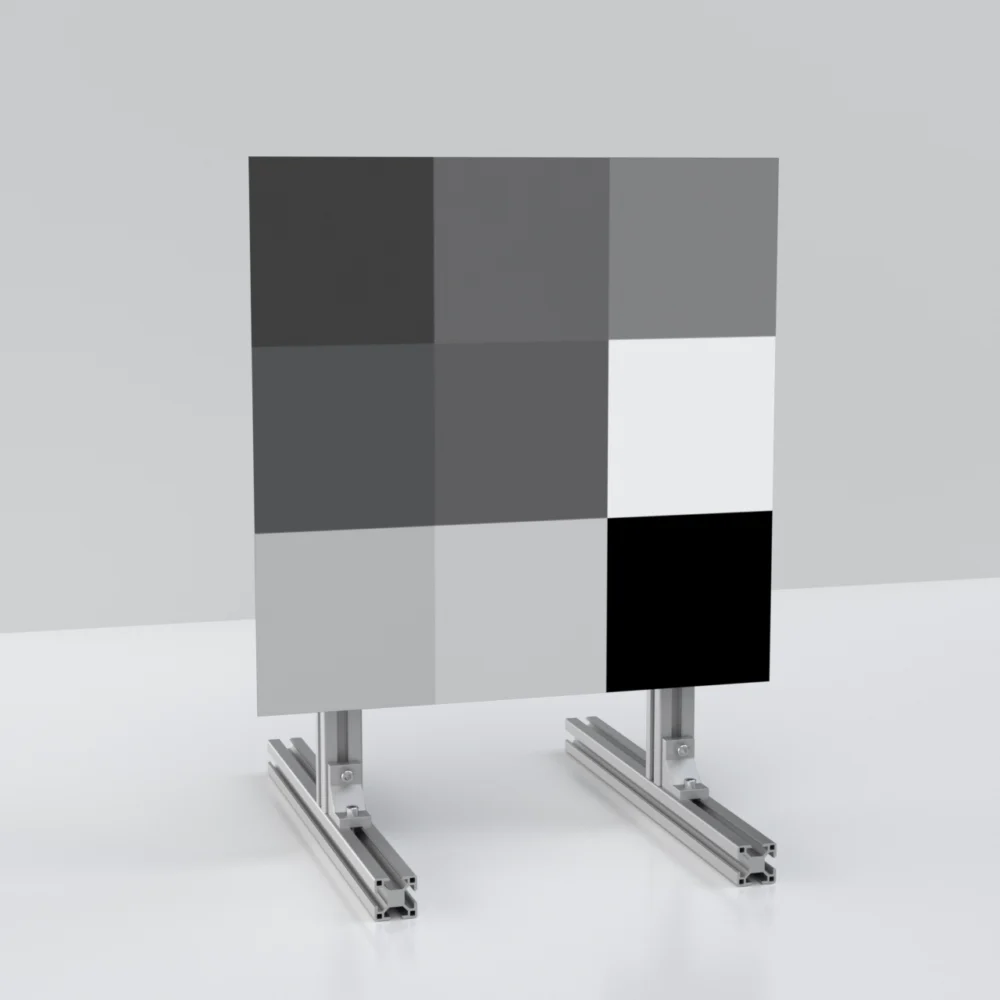
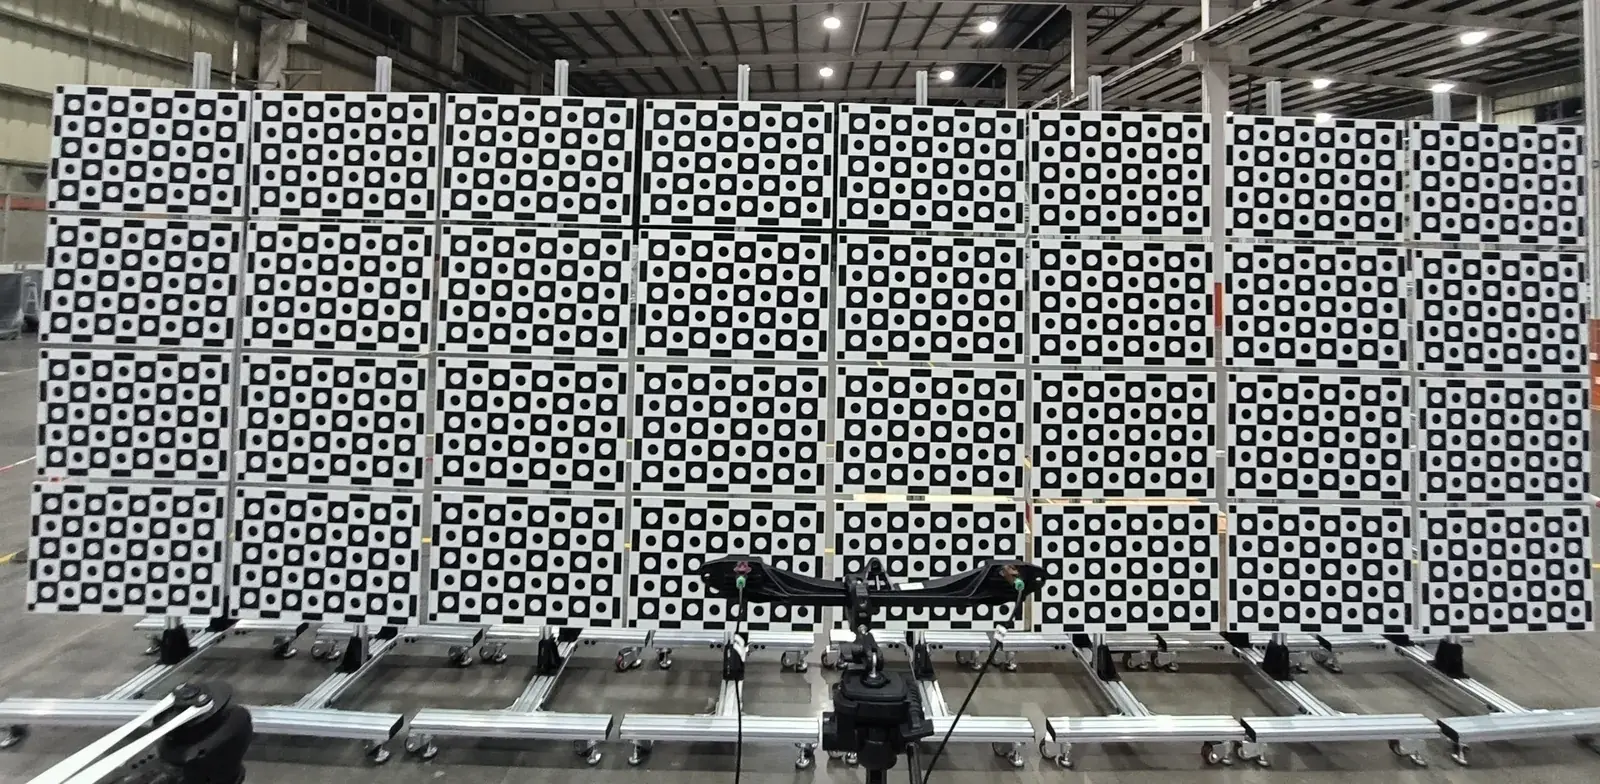
A small reflectance target sits on a tripod and nobody thinks about it again. A target of 1.2 m or more is a different object. It catches wind like a sail, it grows and shrinks with temperature, it needs two people to move, and it arrives in a wooden crate. Each of these can cost you flatness, alignment or a clean surface before the first measurement is taken.
Mount a large LiDAR target from behind on a rigid frame, ballast the frame for the wind at your site, leave the fixing points room for thermal expansion, and keep the panel in its crate whenever it is not in use.
This guide covers each step with numbers you can use: wind force by panel size, a quick tipping check, expansion by temperature, and a checklist for the day the crate arrives.
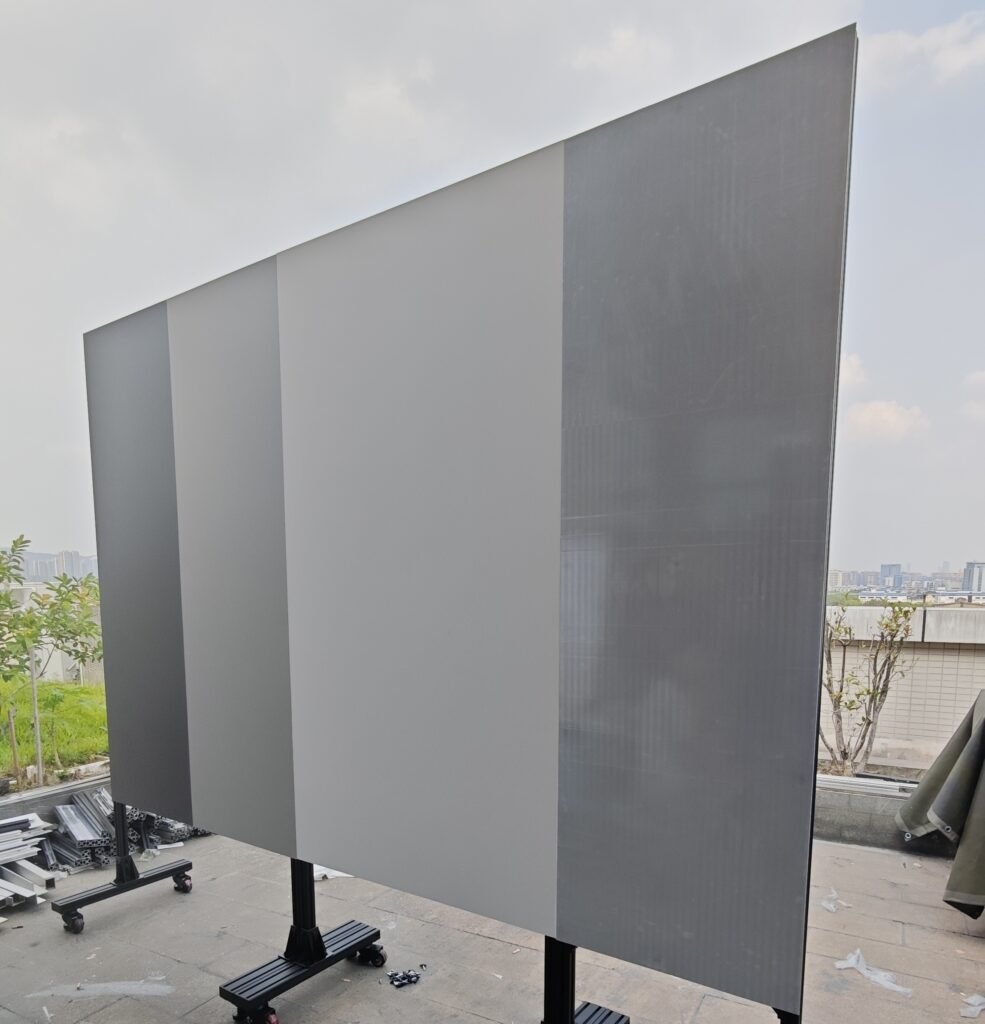
Why Large Targets Are Built on Honeycomb Panels
A large target has to stay flat without being heavy. Solid plate cannot do both. A sandwich panel can: two thin skins bonded to a honeycomb core.
Hexcel’s sandwich design guide compares the skins to the flanges of an I-beam and the core to its web. Its figures show the effect. Take a solid sheet, split it into two skins and space them apart with a core so the panel is four times as thick. Stiffness rises to 37 times the original, and weight rises by 6%.
For a target, stiffness means the surface stays in one plane when the panel stands on edge, and low weight means two people can lift it and a light frame can carry it.
Wind Load: How Much Force a Large Target Catches
Outdoors, a flat panel facing the wind takes the full pressure. The force is:
F = ½ × air density × wind speed² × drag coefficient × panel area
NASA lists the drag coefficient of a flat plate as 1.28, using the frontal area as the reference. With air at 1.225 kg/m³, that gives the forces in Table 1.
| Panel size | 5 m/s (18 km/h) | 10 m/s (36 km/h) | 15 m/s (54 km/h) |
|---|---|---|---|
| 0.6 × 0.6 m | 7 N | 28 N | 64 N |
| 1.22 × 1.22 m | 29 N | 117 N | 262 N |
| 2.44 × 2.44 m | 117 N | 466 N | 1,049 N |
Two things stand out. Force grows with the square of wind speed, so a breeze that doubles puts four times the load on the stand. And force grows with area, so doubling the side of the panel also multiplies the load by four.
A quick tipping check
The wind pushes at the centre of the panel. The stand resists with its weight acting at the edge of its base. The stand stays upright while:
wind force × height of panel centre < total weight × half the base depth
Take a 1.22 m panel with its centre 1.5 m above the ground, on a stand whose base reaches 0.5 m behind the panel. At 10 m/s the wind force is 117 N, so the panel, stand and ballast together need to weigh at least 36 kg. At 15 m/s the figure is 80 kg. These are static estimates for steady wind. Add margin for gusts, lock the casters, and take the panel down when the wind rises beyond what you planned for.
Wind also matters below the tipping point. A panel that rocks in the wind changes its distance and angle during the measurement, and that shows up as range noise.
LiDAR Target Mounting Options: Stands and Frames
| Mounting | Suits | Strength | Limit |
|---|---|---|---|
| Tripod with a rear plate | Panels up to about 0.6 m, indoors | Fast to set up and move | Top-heavy with larger panels or in wind |
| Wheeled aluminium-profile frame | 1 m to 2.4 m panels, indoors or calm days outdoors | Rolls between test distances; height adjustable | Needs locking casters and ballast outdoors |
| Ballasted or ground-anchored frame | Outdoor ranges, long-term positions | Resists wind | Fixed in one place |
| Multi-panel wall frame | Tiled targets and calibration walls | Large area from standard panels | Panel positions must be measured after assembly |
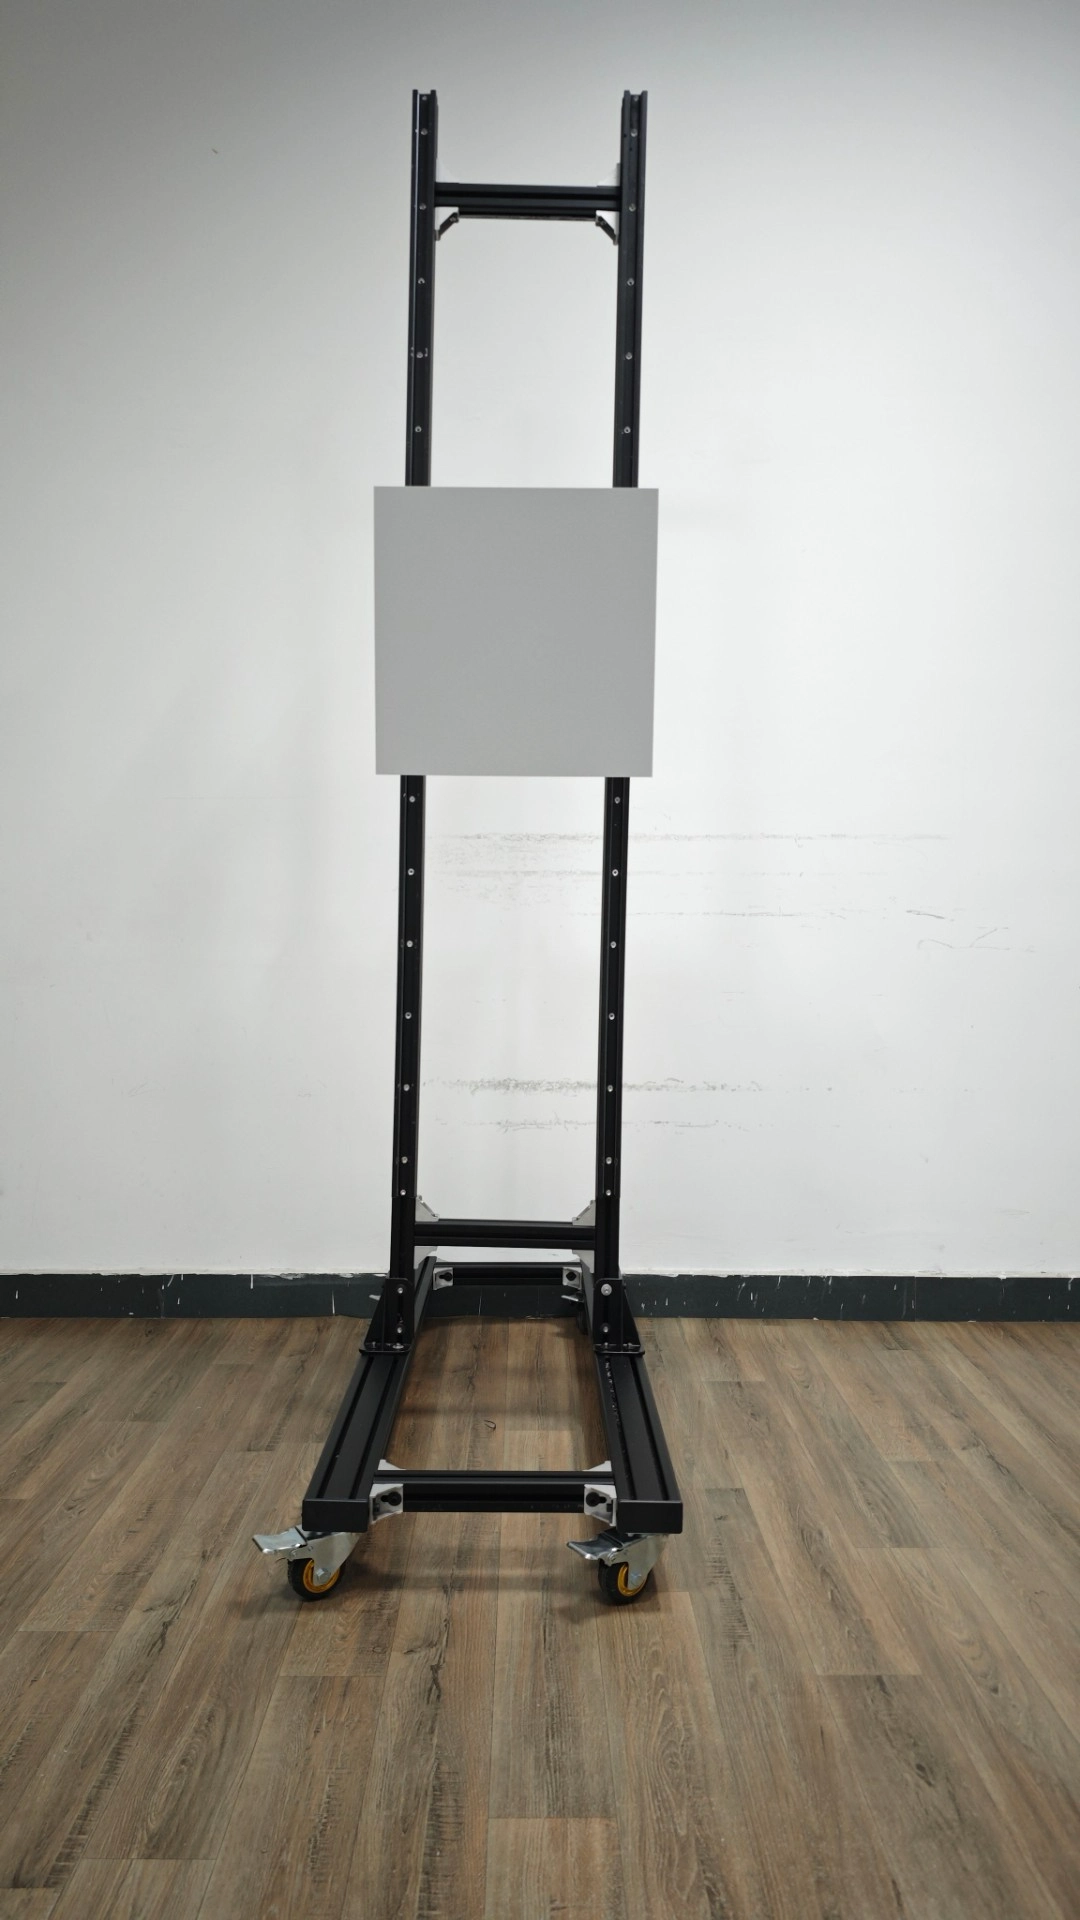
Whichever you choose, the frame should hold the panel from behind. Clamps on the front or the edges sit inside the lidar’s view of the target and blur its outline in the point cloud.
Fixing Points: Hold the Panel Without Bending It
Large honeycomb panels are fixed through threaded inserts set into the rear face. The inserts carry the load into the panel, and the front surface stays untouched.
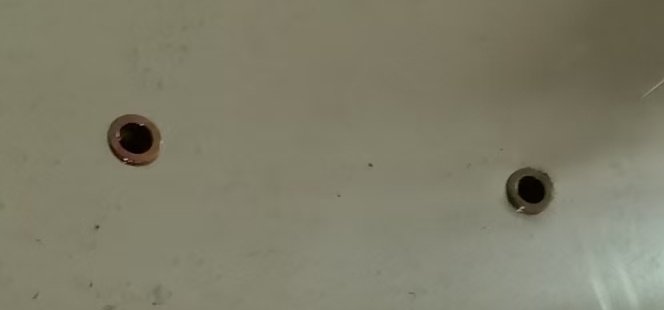
Two mistakes at this stage undo the flatness you paid for.
Do not pull the panel onto an uneven frame
A frame is rarely as flat as the panel. If every bolt is tightened hard against a twisted frame, the panel follows the frame. Seat the panel on three points first, then bring the remaining points up to touch with shims or adjustable spacers before tightening.
Leave room for thermal expansion
Aluminium expands by about 23 µm per metre for each degree Celsius, according to Engineering ToolBox. On a large panel that adds up.
| Panel length | 10 °C change | 20 °C change | 40 °C change |
|---|---|---|---|
| 0.6 m | 0.14 mm | 0.28 mm | 0.55 mm |
| 1.22 m | 0.28 mm | 0.56 mm | 1.12 mm |
| 2.44 m | 0.56 mm | 1.12 mm | 2.24 mm |
A panel that leaves an air-conditioned lab for a sunny test track can easily see a 20 °C change. For range measurement, half a millimetre is nothing. For the fixing points it matters, because the frame may be a different material, or in shade while the panel is in sun. If every point is rigid, the difference turns into stress and the panel bows.
The fix is simple. Make one point the fixed reference and give the others slots or oversized holes, so the panel can grow outward from that point.
Alignment and Background
Once the panel is on its frame, three checks protect the measurement.
- Square to the sensor. A panel turned 30° away presents only 87% of its width, and the return from a diffuse surface also drops with angle. Our guide to LiDAR target size explains how width translates into points on the panel.
- Clear space behind. Lidar points that straddle the panel edge mix the panel with whatever is behind it. Research on mixed pixels describes these readings as a weighted average over the beam footprint. With open space behind the panel, they fall far from the surface and are easy to filter out.
- Repeatable position. Mark the frame position on the ground and record the panel height. The next session then starts from the same geometry.
Shipping and Receiving a Large Target
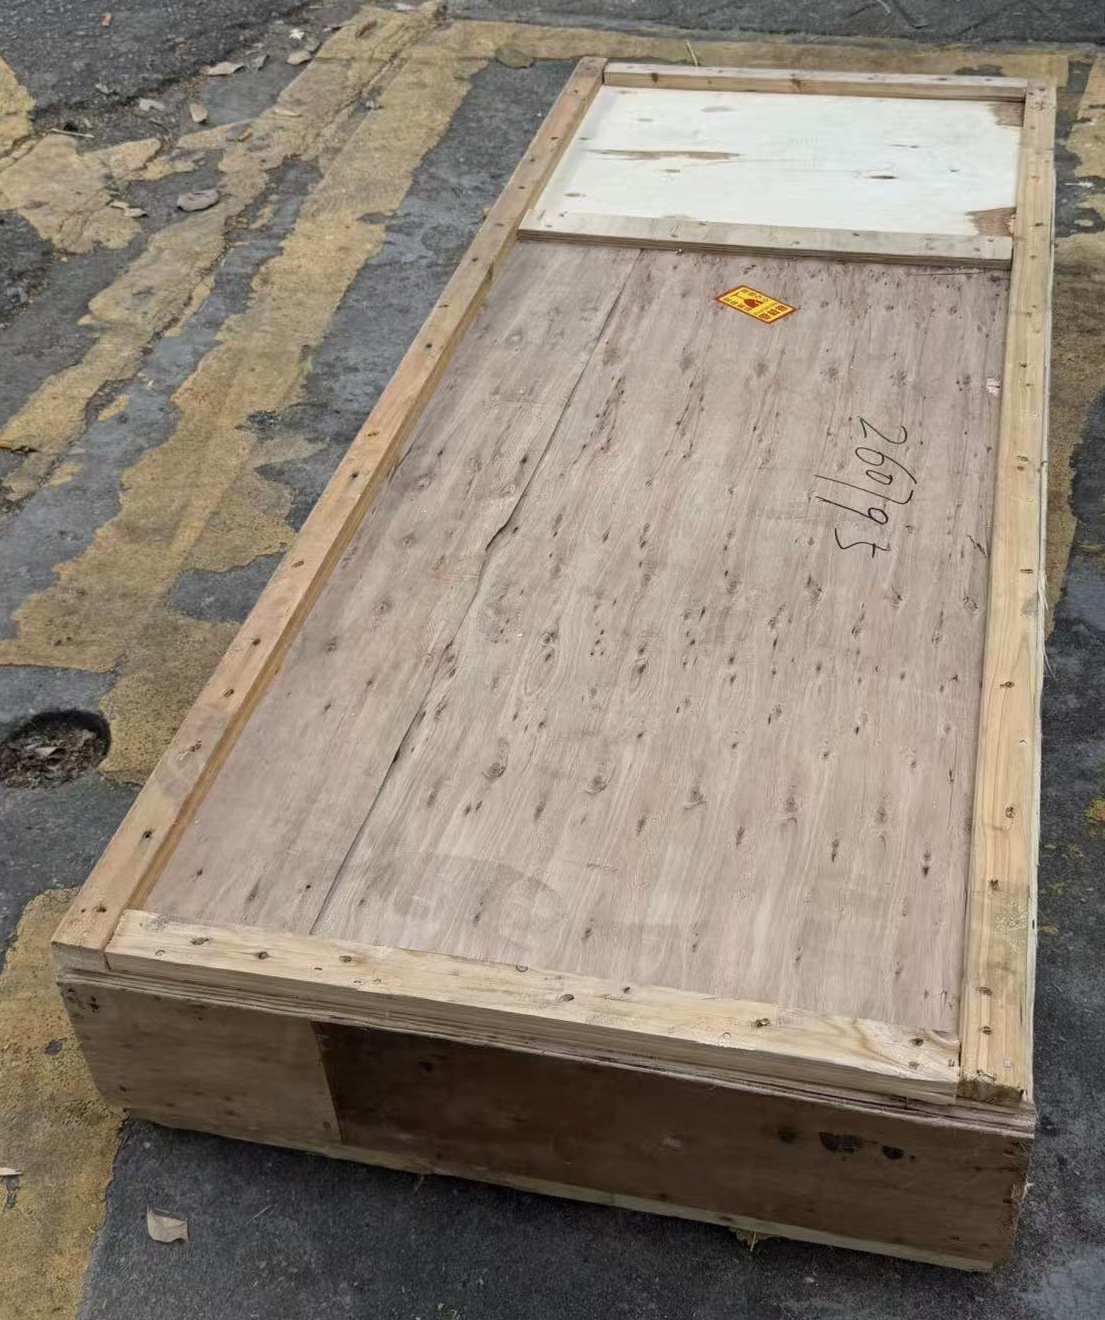
Large panels travel in wooden crates. As a guide, six 1.22 m Calibvision panels pack into one crate of about 1.4 × 1.4 × 0.4 m, weighing 90 to 100 kg in total. Plan for a pallet truck or two people at the receiving end, and for a doorway the crate can pass through flat or on edge.
| Step | What to do | Why |
|---|---|---|
| 1. Before signing | Inspect the crate for impact marks and photograph any damage | Claims need evidence from the moment of delivery |
| 2. Opening | Lay the crate flat and open it from the marked side | Panels are packed face-protected in a fixed order |
| 3. Lifting | Two people, clean gloves, hands on the edges and rear face only | Fingerprints change the surface reflectance |
| 4. Surface check | Look across the surface in raking light for marks or dents | Damage is easiest to see before mounting |
| 5. Inserts | Check that each insert accepts its bolt by hand | Confirms the threads are clean and undamaged |
| 6. Paperwork | Match each panel’s serial number to its report | The report is evidence only for that panel |
| 7. Storage | Keep the crate and its packing | It is the safest place for the panels between tests |
Step 6 is covered in detail in our guide to reading a reflectance target test report.
Day-to-Day Handling and Cleaning
The reflectance value in the report holds only while the surface stays as it was measured.
- Never touch the optical surface with bare hands, liquids or dirty tools. Wear clean gloves.
- Remove light dust with a soft, clean brush.
- Carry the panel on edge with two people. Do not lay it face down on a bench or the ground.
- Between tests, return the panel to its crate. Do not leave it outdoors overnight.
- If the surface is marked or contaminated, have the panel re-measured before you rely on it again.
How Calibvision Supplies Large LiDAR Targets
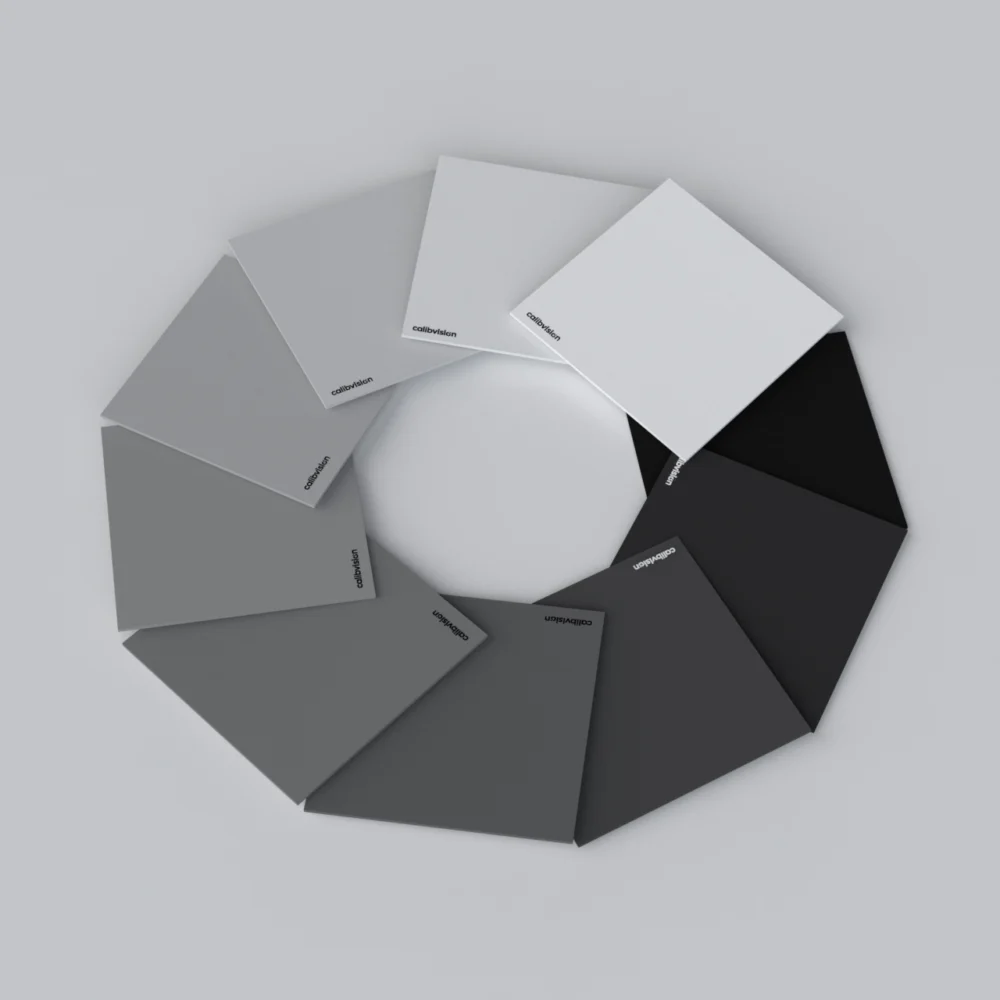
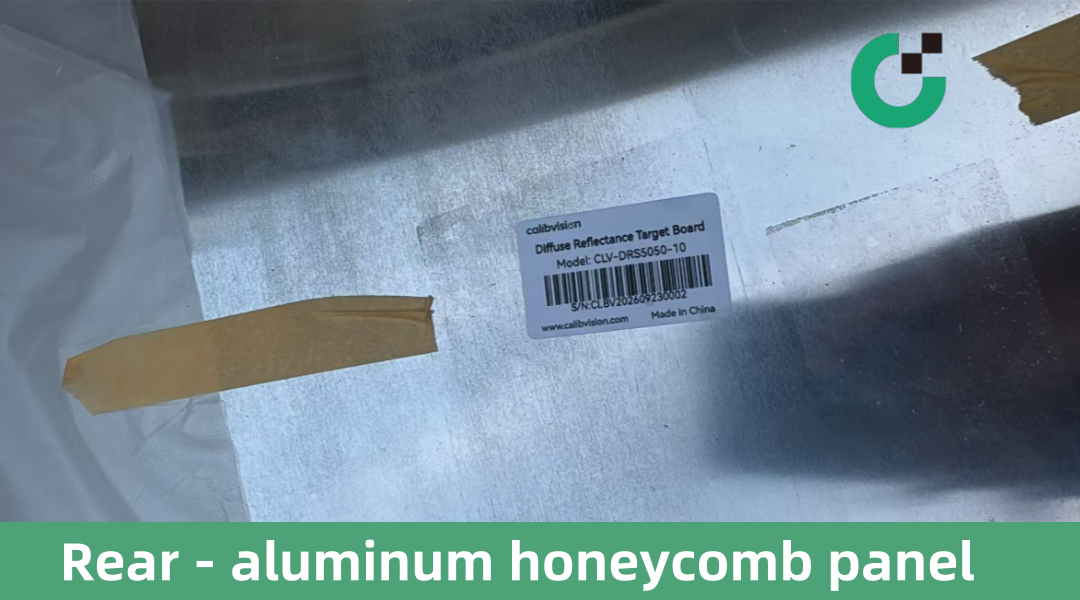
Calibvision builds large diffuse reflectance targets on 15 mm aluminium honeycomb panels. A typical format is 1219.2 × 1219.2 mm, and panels can be combined on one frame for larger areas or several reflectance levels. Threaded inserts are set in the rear face to your drawing. Each panel is supplied with its own reflectance report and packed in a wooden crate.
Tell us how you plan to mount the panel, where it will be used and where it has to be delivered. We reply with insert positions, packing details and a quotation.
Frequently Asked Questions
How do you mount a large LiDAR target?
From behind, through threaded inserts in the rear face, onto a rigid frame. Use one fixed point and slotted points for the rest, and keep clamps away from the front and edges.
Can a large LiDAR target be used outdoors in wind?
Yes, if the stand is ballasted for it. A 1.22 m panel catches about 117 N at 10 m/s and 262 N at 15 m/s. Lock the casters, add ballast, and take the panel down in stronger wind.
How heavy is a 1.2 m honeycomb target?
Light enough for two people to carry. As a guide, six 1.22 m panels and their wooden crate weigh 90 to 100 kg together.
Does temperature affect a large target?
The size change is small: about 0.28 mm on a 1.22 m aluminium panel for every 10 °C. It does not matter for range tests, but the fixing points need slots so the panel can expand without bowing.
How are large LiDAR targets shipped?
In wooden crates, with the surfaces protected. Inspect the crate before signing for it, and keep it for storage and for moving the panels later.
How do I clean a reflectance target?
Remove light dust with a soft, clean brush. Do not touch the surface with bare hands or use liquids. If the surface is contaminated, have the panel re-measured.
Can several panels be mounted as one target?
Yes. Panels can be tiled on one frame to make a larger area or to combine several reflectance levels. Keep the surfaces in one plane and exclude the points that fall on the seams.