There is no single “best” checkerboard size for OpenCV — but three choices decide how well your calibration goes: the inner-corner count you pass to findChessboardCorners, the physical square size relative to your working distance, and the overall board size and flatness. Get those three right and detection is robust and the calibration is accurate; get them wrong and you fight failed detections or a quietly biased result.
This guide covers how OpenCV defines board size (and the one gotcha almost everyone hits), how many squares to use, what square size fits your camera, the feature-count-versus-images trade-off, a recommended starting point, and when a plain checkerboard is the wrong pattern altogether.
How does OpenCV define checkerboard size?
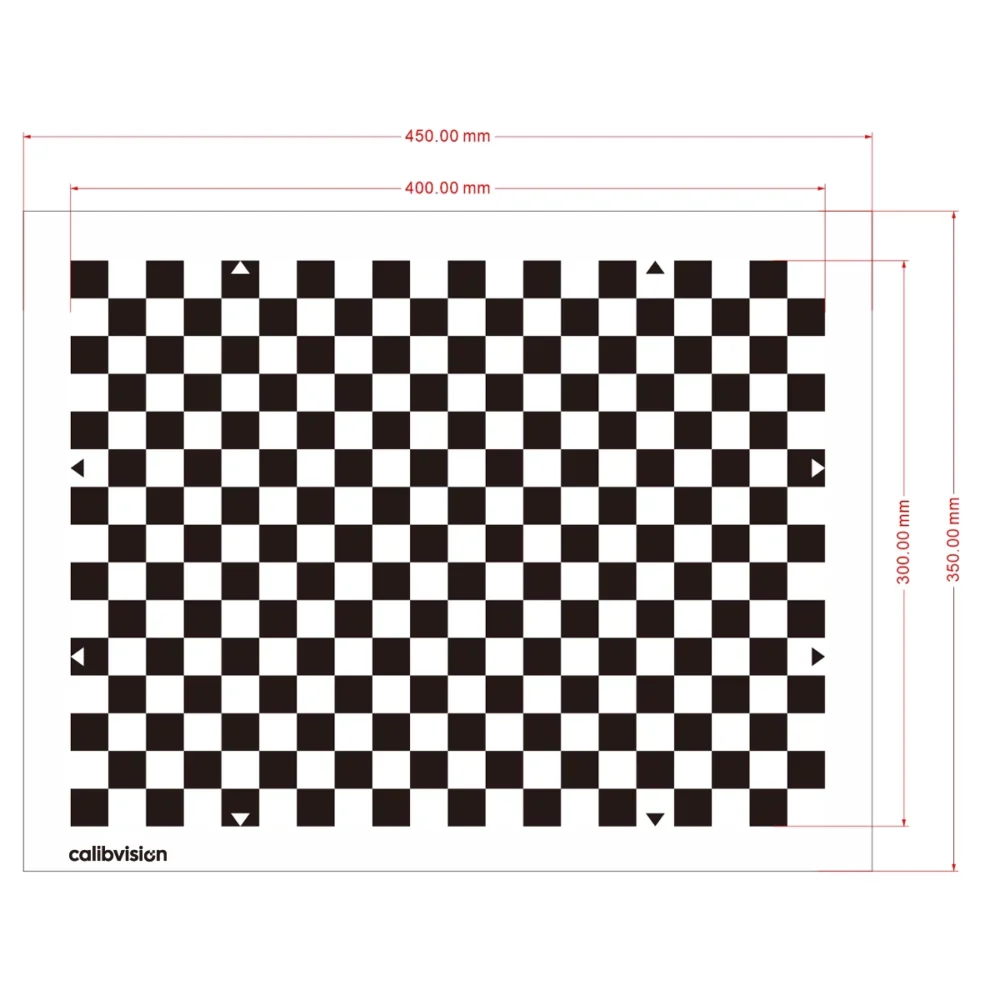
This is the mistake to get out of the way first. OpenCV’s findChessboardCorners takes a patternSize that is the number of inner corners — the points where four squares meet — not the number of squares. The inner-corner count is always the square count minus one in each direction.
import cv2
# patternSize = INNER corners = (squares_x - 1, squares_y - 1)
pattern_size = (9, 6)                 # e.g. a 10 x 7-square board
found, corners = cv2.findChessboardCorners(gray, pattern_size)
So a board with 10 × 7 squares is a (9, 6) pattern in OpenCV. Pass the square count by mistake and detection simply fails with no useful error — check this first whenever findChessboardCorners returns nothing.
How many squares should a checkerboard have?
Two rules cover most cases:
- Use different row and column counts, one even and one odd. A square or symmetric grid can flip 180° in pose estimation; an asymmetric inner-corner count (for example 9 × 6) gives the board a unique orientation and removes that ambiguity.
- More corners give more constraints per image, which improves the estimate — but only up to the point where each square is still large enough to detect reliably. A 9 × 6 inner-corner grid (10 × 7 squares) is a solid default for standard machine vision; go denser only if the squares stay above the minimum detectable size.
What square size should you use?
Square size is set by your optics, not by preference. The working rule is that each square should span at least 10–15 pixels in the image, and the whole board should fill roughly one-third to two-thirds of the frame at your calibration distance. You can size it directly from the imaging geometry:
square_px ≈ (square_mm × focal_length_px) / working_distance_mm
# choose square_mm so that square_px ≥ 10–15
As a starting point by working distance:
| Working distance | Square size | Typical board |
|---|---|---|
| Close range / microscopy | 0.1–3 mm | 25–50 mm |
| Standard machine vision | 3–10 mm | 50–100 mm |
| Long range | 10 mm+ | 100–127 mm+ |
How big should the board be?
Size the board so it fills a good fraction of the frame at your working distance while still fitting entirely in view from oblique angles — you need tilted views for a good distortion estimate. Above all, the board must be flat: any bow is absorbed into the model as false lens distortion, so a rigid, dimensionally stable substrate matters as much as the pattern.
Feature count vs number of images
Calibration quality comes from the total number of well-distributed constraints, and you can trade the two inputs against each other. A denser board gives more corners per image; a sparser board can be compensated by capturing more images. In practice, aim for 10–20 images that cover the whole field of view and include varied tilts and distances, rather than many near-identical frontal shots. Coverage of the image periphery — where distortion is largest — matters more than raw image count.
A recommended starting configuration
| Application | Inner corners | Square size | Board |
|---|---|---|---|
| Standard machine vision | 9 × 6 | 5–10 mm | 62–100 mm |
| Close range / high-res | 9 × 6 | 1–3 mm | 25–50 mm |
| Long range | 9 × 6 – 12 × 8 | 10 mm+ | 100–127 mm |
You can generate a matching pattern with OpenCV’s generate_pattern.py (in apps/pattern-tools) or with our calibration pattern generator, then order the physical target at the exact square size — and verify the printed size with calipers before calibrating.
A few OpenCV specifics worth knowing
- Use
findChessboardCornersSBwhere available — it is more robust to blur and uneven lighting than the classic detector. - Refine with
cornerSubPixfor sub-pixel corner locations before callingcalibrateCamera. - Confirm detection visually with
drawChessboardCorners; the corner order must be consistent across images.
When is a plain checkerboard the wrong choice?
If the board is frequently partly out of frame, or you are calibrating multiple cameras with little overlap, a plain checkerboard fails because it needs the full grid resolved. In OpenCV, the fix is a ChArUco board, whose coded corners allow partial views. For a broader comparison of corner-based and centroid-based patterns, see checkerboard vs dot grid, and the calibration pattern types overview for the whole family.
Why the physical target sets your accuracy ceiling
OpenCV assumes your board’s geometry is exactly as specified. A laser-printed paper checkerboard carries ±50–200 µm of positional error and warps, both of which propagate straight into the result — so the target, not the code, sets the floor. A photolithographic chrome-on-glass target removes that error source:
| Substrate | Feature accuracy | Best for |
|---|---|---|
| Quartz glass (blue chrome) | ±0.5 µm | Metrology, microscopy |
| Soda-lime glass (brown chrome) | ±1 µm | Backlit precision machine vision |
| Matte ceramic (blue chrome) | ±2 µm | Front-lit, rugged production floors |
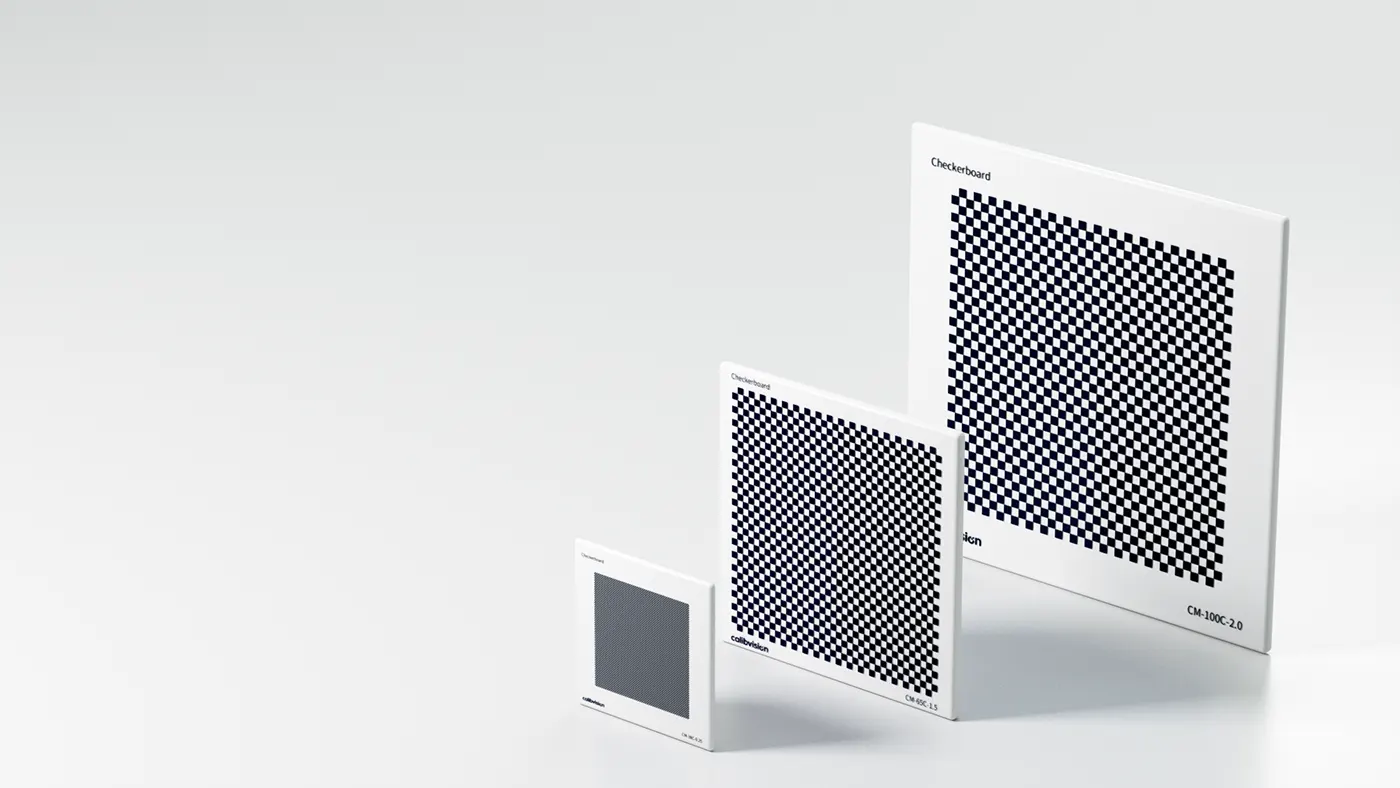
Standard OpenCV-ready checkerboards are the ChessMark CM-series (25–127 mm, checkers 0.1–4.0 mm), each shipped with a serial-numbered inspection report; NIST/NIM-traceable, CNAS-accredited (ILAC-MRA-recognised) third-party calibration is available on request. See how we measure and report target accuracy for what a trustworthy report contains.
How do I order the right checkerboard?
Send your camera, lens and working distance — or the inner-corner count and square size you have chosen — and our engineers will confirm the pattern, size and substrate. Standard ChessMark checkerboards ship in 4–6 working days with a dimensional inspection report.